
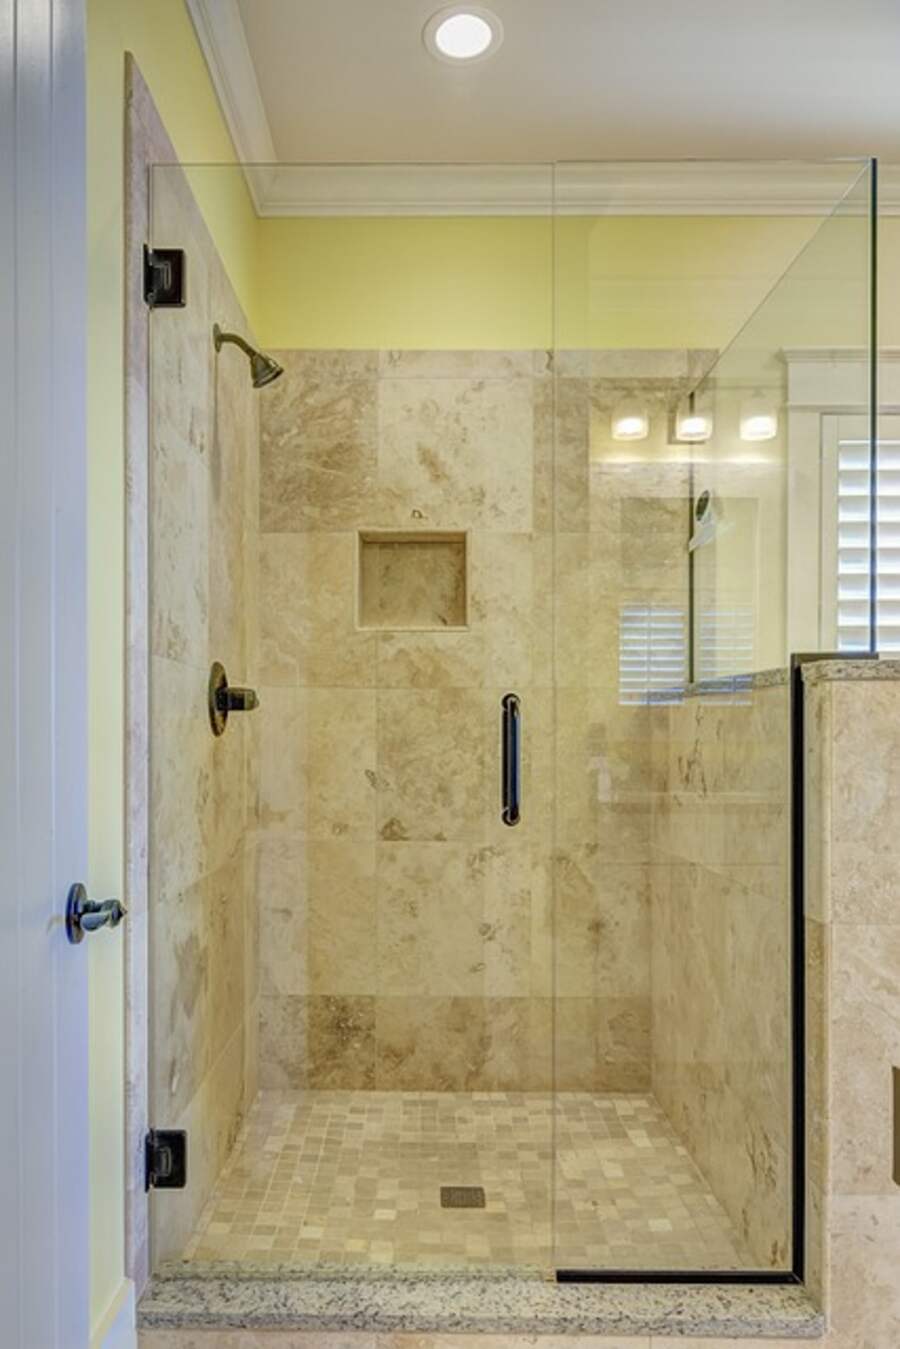
The shower floor pan is the single most crucial component of your bathroom renovation.
And this is, perhaps predictably, where most DIYers either err, try to cut corners, or do it completely wrong. An improper “pre-slope” in the floor pan might cause mold to form beneath the tile and mortar bed, which can lead to leaks. But I don’t want to jump the gun, so I’ll explain exactly how to achieve it in a bit. Let’s begin with this: What is a “shower pan”?
The word “pan” refers to the copper pan traditionally installed at the shower’s foundation.
Assume the following as the “Before”:
Because of its malleability and ease of shaping on-site, 4-pound sheet lead (weights 4lbs per sq ft, giving it the name) replaced the copper pan. A contractor may take the measured dimensions out to the driveway or garage and, using a 26 and a rubber mallet, bend the corners into place, folding them over and overlapping so that the raw edges meet at the top. Weighing in at 4lbs per square foot, it was quite a heavy object to haul around the house, but two guys could do it, and since it is so flexible, it could be folded in on itself to go through narrow passageways and around corners.
To create a drain hole in the lead, they would use the rubber mallet to make an impression of the drain. The drain flange was then screwed into place to complete the watertight seal left by the hole. After that, we put an adjustable shower drain into the flange and covered the weep holes with pea gravel to keep the deck muck out. Deck mud is a dry cement that is wetted just enough to keep its shape and can be packed in to create a slope that directs water down the drain.
Initial Incline, or “Pre-Slope”
This is where many people who try to build their showers but don’t have any experience fail. Before installing the shower pan, a slight slope is made on the floor using dry-pack cement that directs water to the drain. Water can and will go through the tile, masonry, and concrete above and into the shower pan, regardless of your thoughts. Without a sloped base, water from the concrete won’t be able to seep into the shower drain’s weep holes, and the pan will sit flat on the floor. Mold will grow if the concrete is damp, and it will do a lot of harm over time.
Felt paper (which separates concrete from floor movement) and Metal Lath is stapled down on the plywood to form the pre-slope. Cement should be mixed with just enough water to keep its shape, then packed to a thickness of 1/8 inch at the drain and about 1/4 inch per foot at the shower’s outer edge. Felt paper is not required when applying concrete to a concrete floor.
Between the “Before” and “Now” periods:
When vinyl membranes were used instead of lead pans, a lot of time was saved in the production process. A CPE bonding glue (packaged similarly to PVC cement) covers up patches over corners once the liner has been rolled out and molded to fit the shower’s interior. The vinyl membrane was installed beside a cutting-edge Tile Shower Drain, just like the one on the left.
The rubber membrane must be installed at least 3 inches higher than the final height of the shower curb or dam. Install 210 board pieces between studs to provide firm support for the liner and places to nail the liner to the wall before wrapping the membrane up the sides. Outside the top of the pan liner, no nails or other fasteners should be used anywhere to avoid leaks at the nail holes.
Metal lath is wrapped around the shower curb (three 2x4s nailed together to form a 4.5-inch high threshold) after the pan liner has been set up, and cement is packed into the lath and on top of it to create a smooth, squared-off surface ready for tiling.
Kirb-Perfect, manufactured by Mark E Industries, is the product I always use because it is more straightforward than shaping the metal lath and forms a cage around the lined shower threshold.
Then, using weatherproof screws (to prevent rust stains from showing through grout later as regular screws rust), the 1/2-inch-thick 3’x5′ sheets of concrete board may be precisely fitted to the wall. The pan liner should be pressed on the wall against the studs and 210 boards before the concrete board is attached, leaving a 1/2′′ gap.
The Reality of the Concrete Incline:
After the threshold is installed, the concrete slope inside the shower pan liner is poured, and the surface is smoothed and leveled so that the tiles may be easily laid. You can get a 1/4″ to 1/2″ slope per foot from the adjustable shower drain to the shower walls by drawing a chalk line around the concrete board on the walls as a guideline.
For this step, I opt for the more straightforward and quicker solution offered by Mark E.’s Quick Pitch kit, which consists of a plastic ring to go around the shower drain (to prevent the weep holes from being plugged by concrete) and slope plastic sticks that fit into the ring and are placed around it, radiating out to the corners and sides. Tin snips or a saw will work well to snip them to the desired length. This provides me with a quick and accurate pitch every time.
The Next System Wherein the VAST MAJORITY OF PEOPLE WILL CHANGE NOW IS:
The approach I just described to you is perfectly acceptable. It’s the cheapest option available, so most contractors still use it. But as you know, new technologies emerge every year, radically altering building practices that have existed for decades, if not centuries.
When homeowners have more money, I employ a system that includes components from the German company Schluter. Although they face competition, they now hold a commanding proportion of the market. Their items can be easily combined to create a watertight shower in a fraction of the time needed to install the method I just described.
Schluter claims that even if you follow the steps I just outlined to install a shower using the old approach properly, water can remain in the concrete for an extended period, leading to mold concerns. No exposed concrete is underneath the tile because the floors and walls are waterproofed with a plastic membrane. Water penetrating the tile will flow unimpeded along the plastic barrier and into the plumbing underneath.
The procedure is as follows:
After the electrical and plumbing systems are set up, the first step is to cover the walls with concrete board. I buy Schluter’s Kerdi Shower Kit since it offers nearly everything I need to create a dry, tile-ready shower that won’t leak. An expanded polystyrene shower base is the first thing you should utilize. The necessary slope is already built in, so all that needs to be done is to trim the foam to fit the aperture. Prepare a bed of Thinset mortar on the subfloor using a notched trowel, then firmly embed the shower base in the mortar.
The next step is to position a Schluter Bench, which is just a massive block of expanded polystyrene and can also be readily trimmed to fit the area, wherever that may be. The shower kit doesn’t have a bench, so I usually make one out of treated 2x4s and concrete board.
Kerdi, a plastic sheet with fluorescent orange fleece webbing bonded to both sides, is included in the shower set. Webbing acts as a binding contact surface for ThinSet to attach to on both the concrete board wall and the tiled surface, while a plastic barrier keeps water out of the shower.
ThinSet the Kerdi Strips, which are 3 inches wide, into all corners. Apply the Kerdi to the walls and, if you have one, the bench once you have finished sealing the corners.
One Essential Factor to Consider When Using Kerdi on Concrete Board Walls To prevent the Kerdi from peeling off before the ThinSet sets, it should be mixed thinner than usual to the consistency of pancake batter.
Afterward, place a generous amount of ThinSet in the disc’s central hole, and bond it to the drain pipe underneath the floor. Then remove any dripping ThinSet from the holes in the disc’s rim.
Now adhere a tile of Kerdi to the floor using ThinSet, leaving a gap for the drain. Next, install the Schluter Kerdi Shower Curb by cutting it to size and cementing it in place using the provided ThinSet. Since it is also made of expanded polystyrene, it is simple to work with and set up. After the shower base is in place, you can install the Kerdi over the curb and use the Kerdi-Kereck corner sealant to finish the job. Kerdi Seal pieces should be installed at the apertures near the shower valves.
You may begin tiling your new and improved Shower Pan immediately!
… But that’s for the next piece! Do your job!
Brent Wehmeyer is an accomplished home builder who specializes in tiling bathrooms. His website, TileShowerDIY.com, is a wealth of information on tiled bathrooms.
Read also: Getting Ready And Setting Up Glossy Acrylic Kitchen…